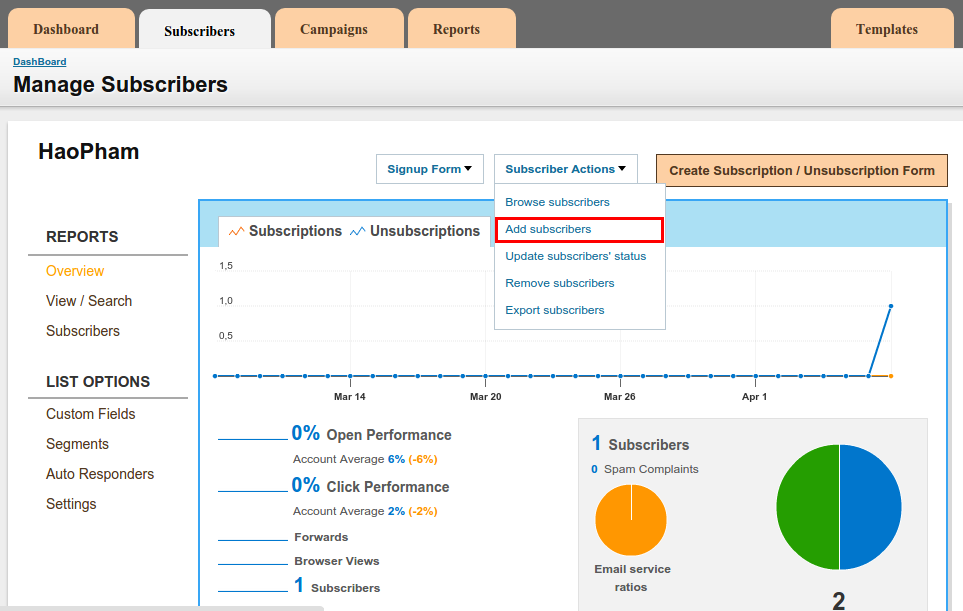
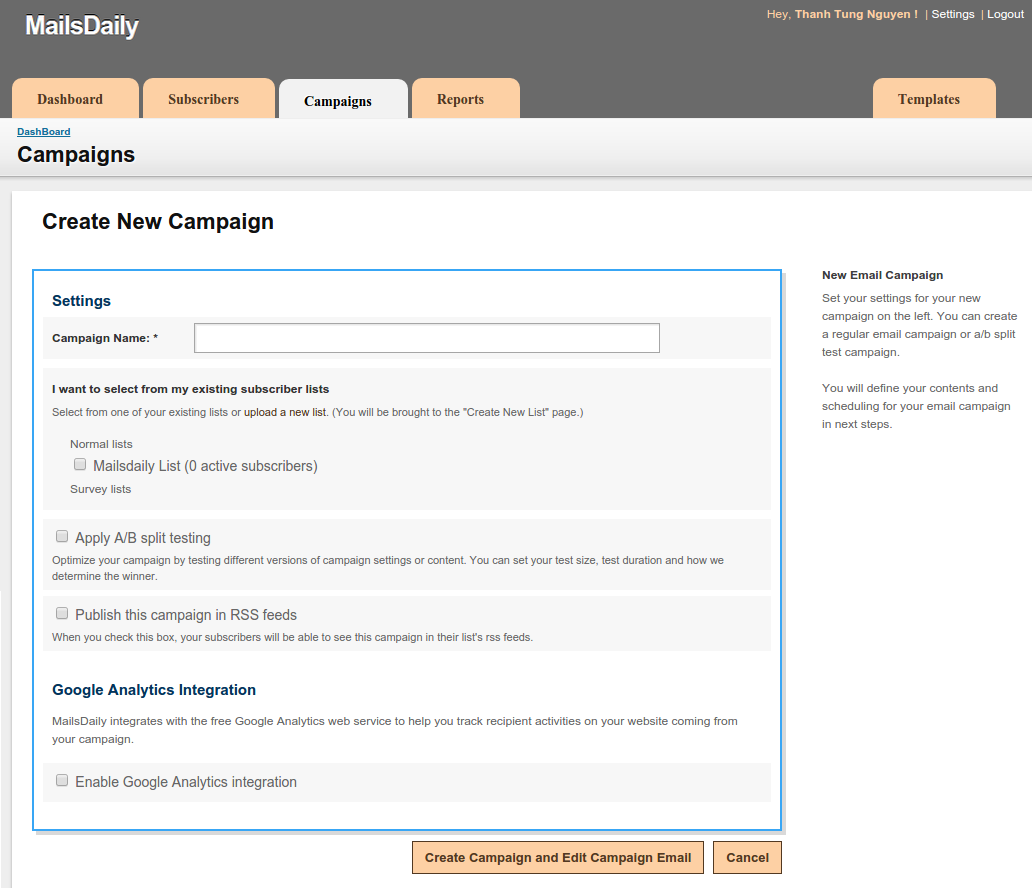
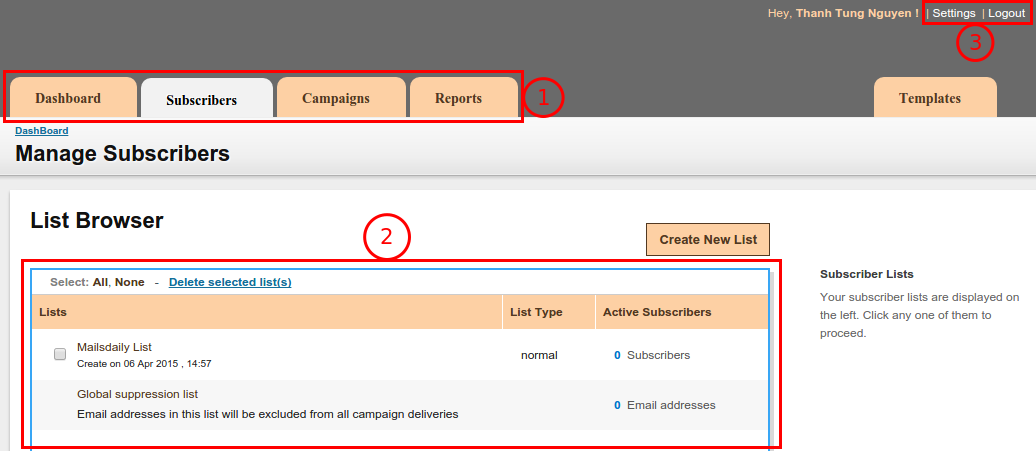
- To add new subscribers using external mysql database, go to “Lists“
- Click on the mailing list you wish to add new subscribers to
- The List Browser screen will have a dropdown menu called “Subscriber Actions“
- Select “Add Subscribers” from this drop down
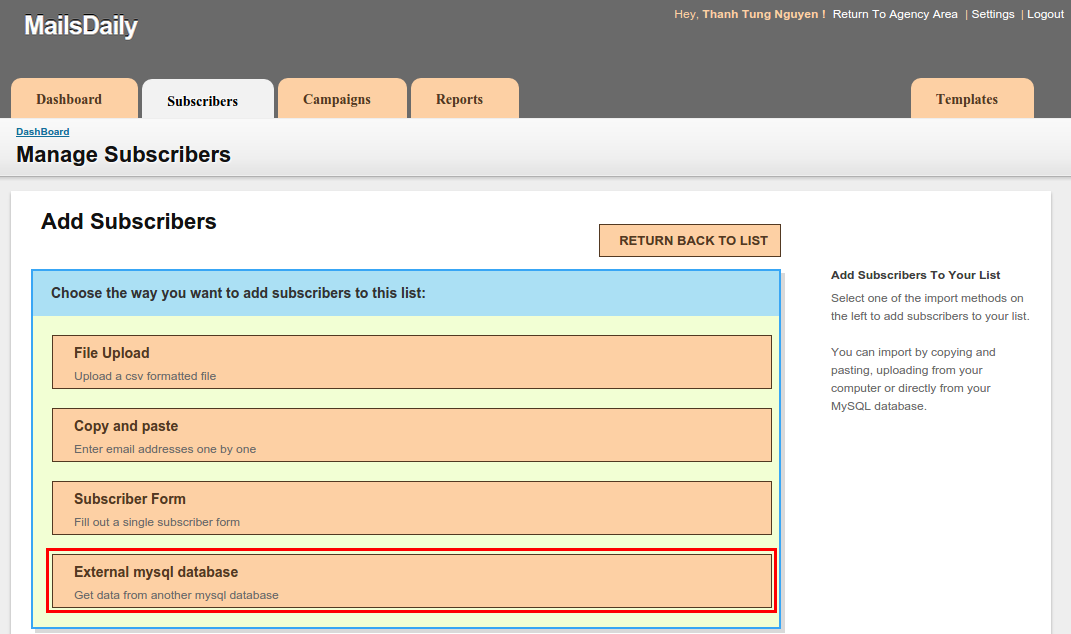
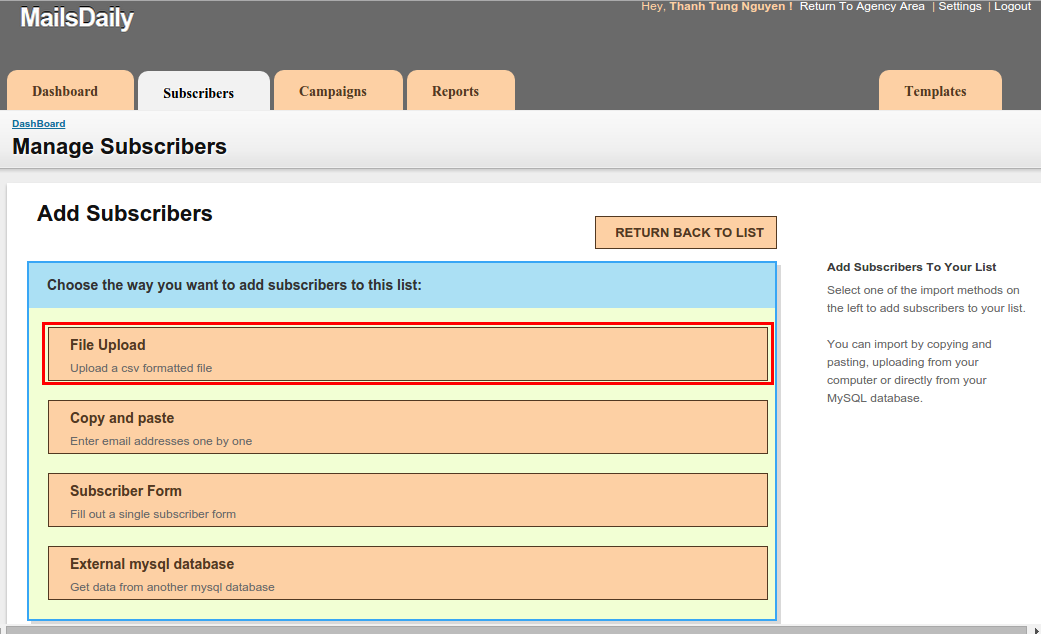
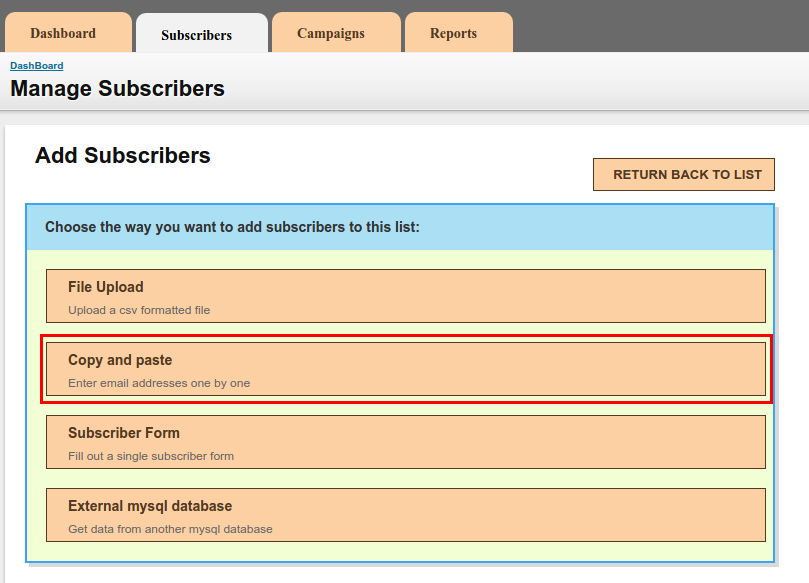
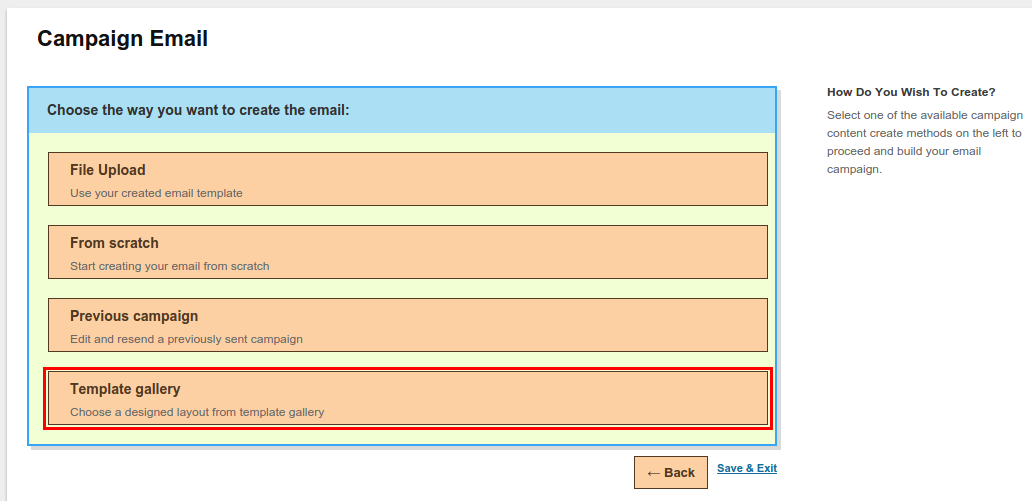
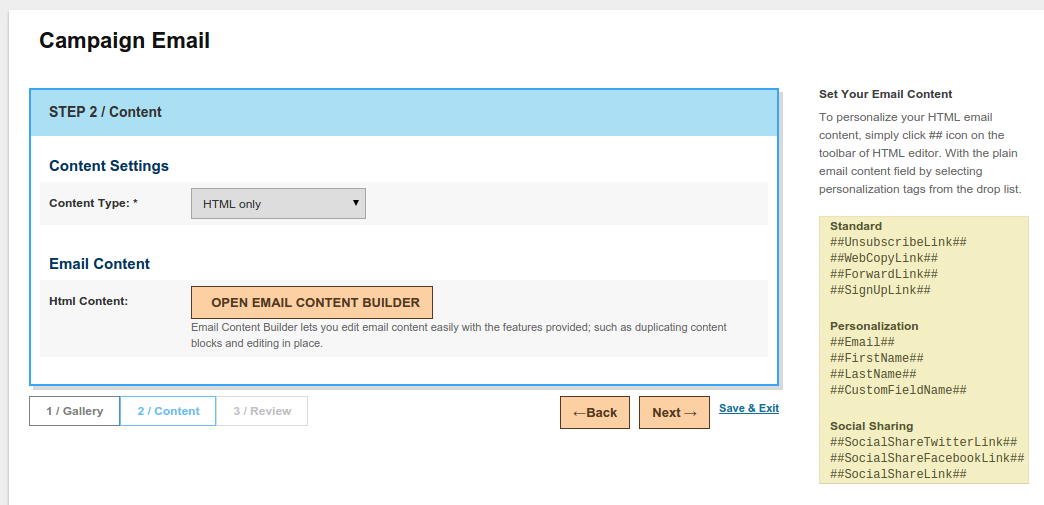
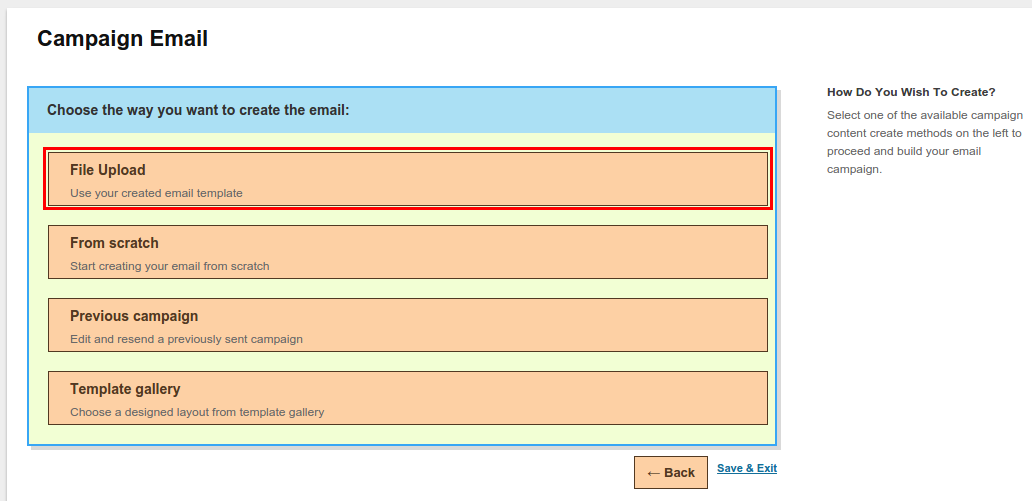
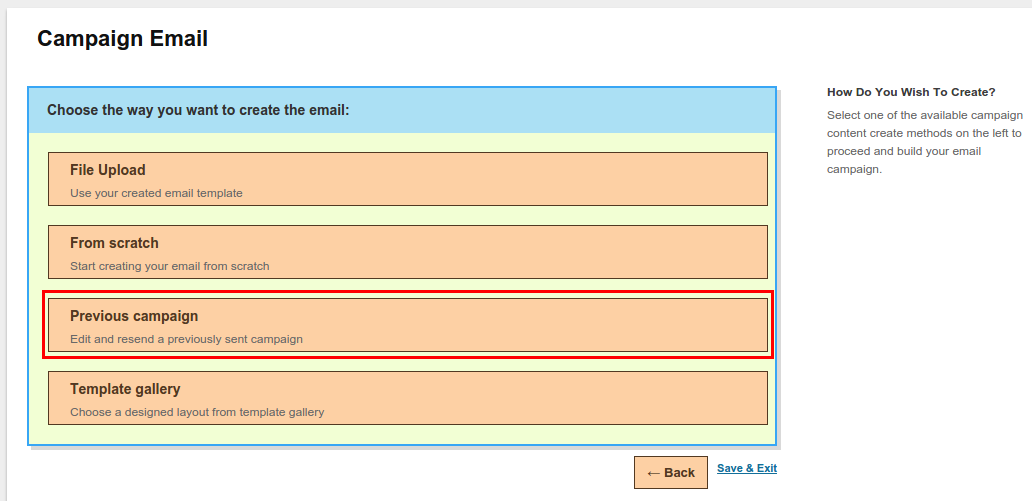
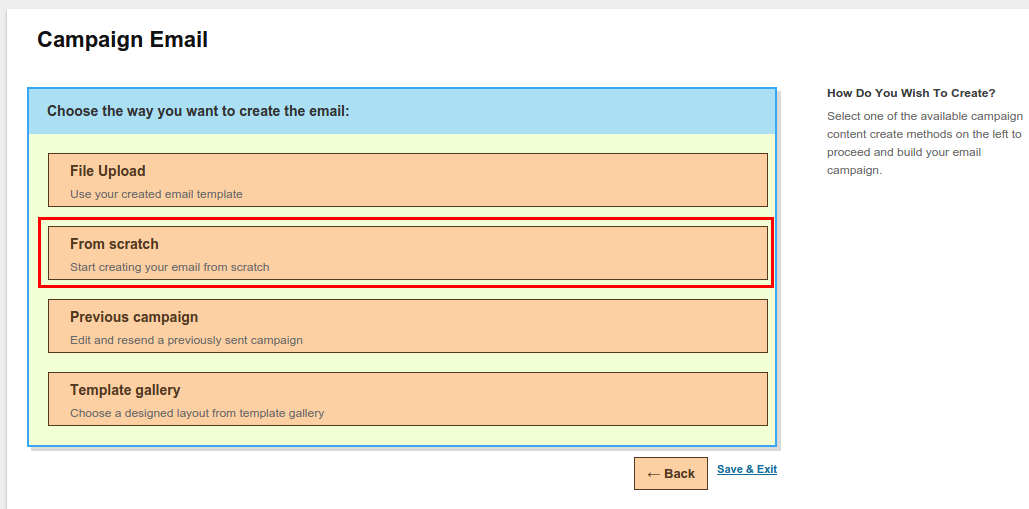
This screen will help you choose the method you wish to use for adding new subscribers – for this chapter we will use the first method “External MySQL Database“.
- Click on the “External MySQL Database” method and this will take you to the wizard for the method.
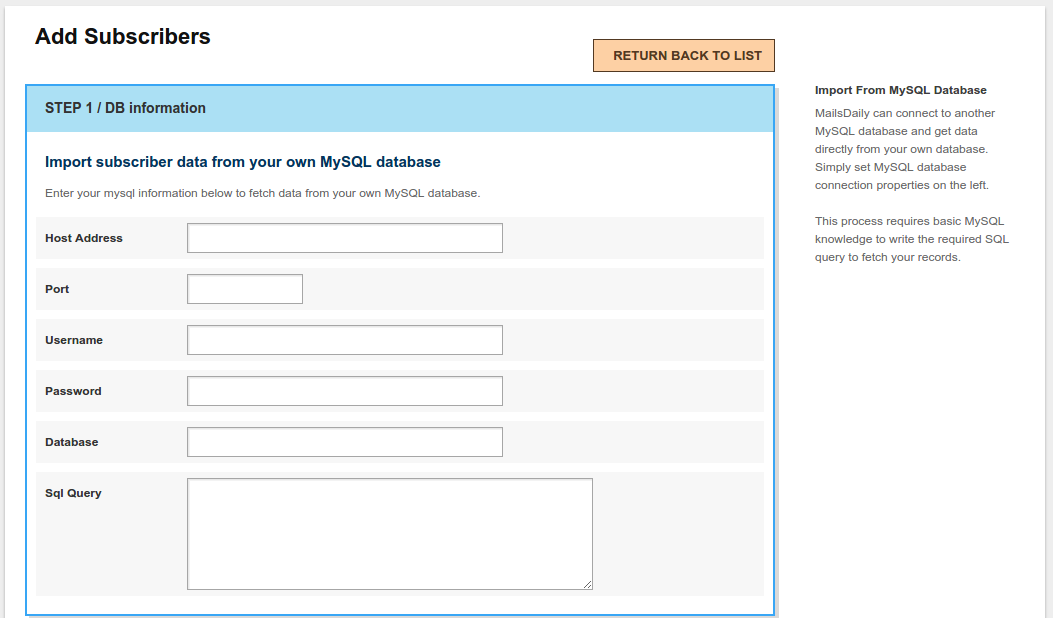
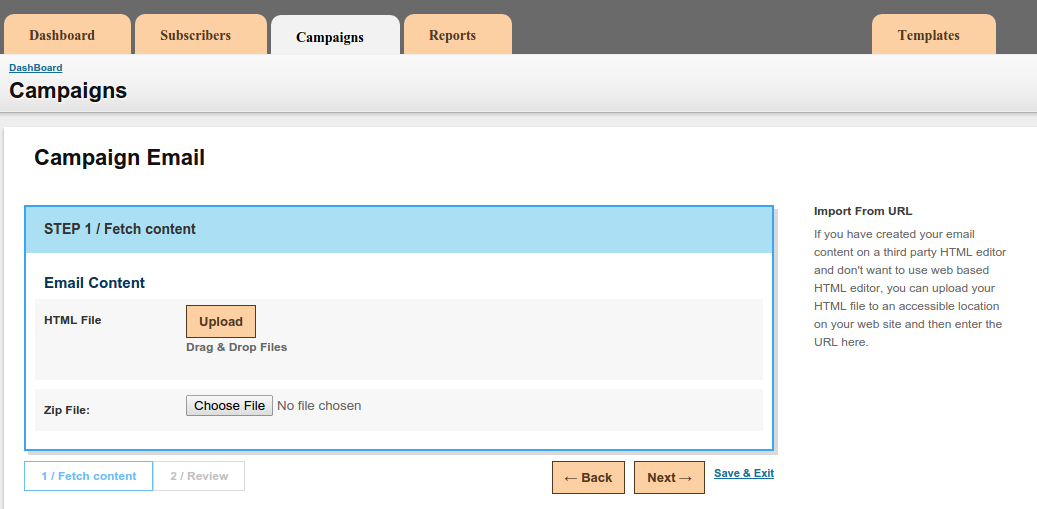
Host Address
Enter the host address for your external mysql database
Port
define the MySQL Port number in case if its not running on a standard port 3306
Username
Enter the username for accessing the mysql database
Password
Enter the password
Database
Enter the name of the database
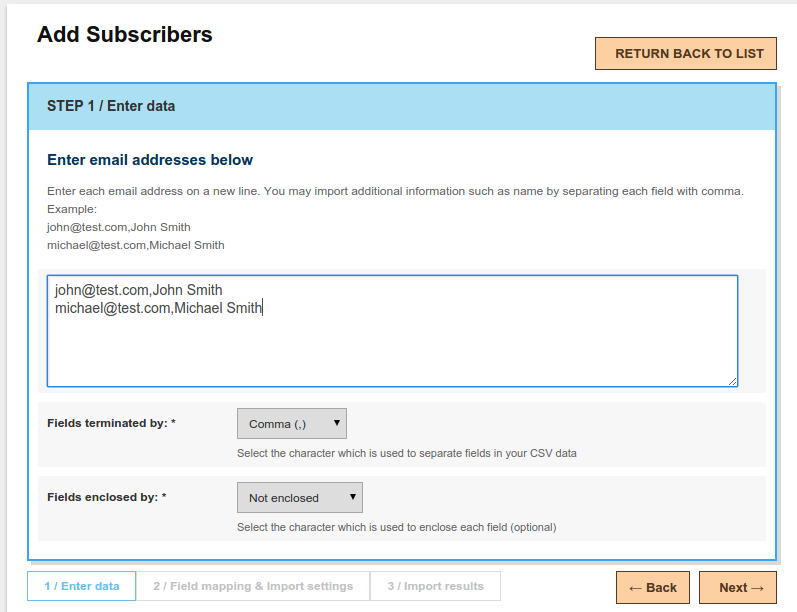
SQL Query
Enter the SQL query in order to select the records from the database
For Example: SELECT * FROM clients WHERE ‘Subscribe’=1
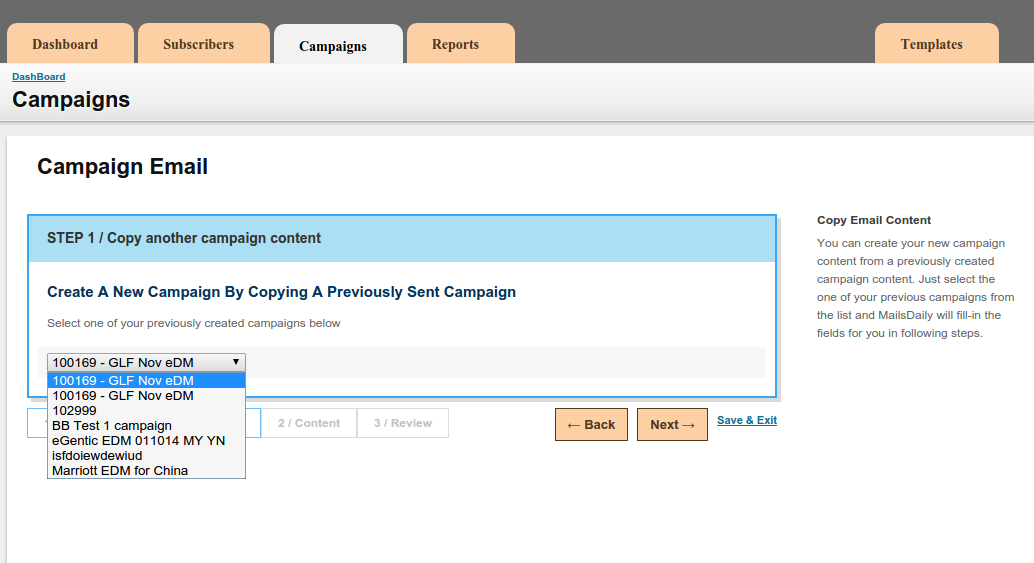
Click the “Next” button so that we can go to the step 2 for mapping fields.
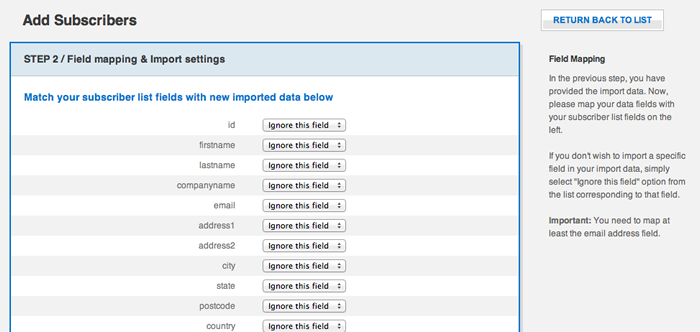
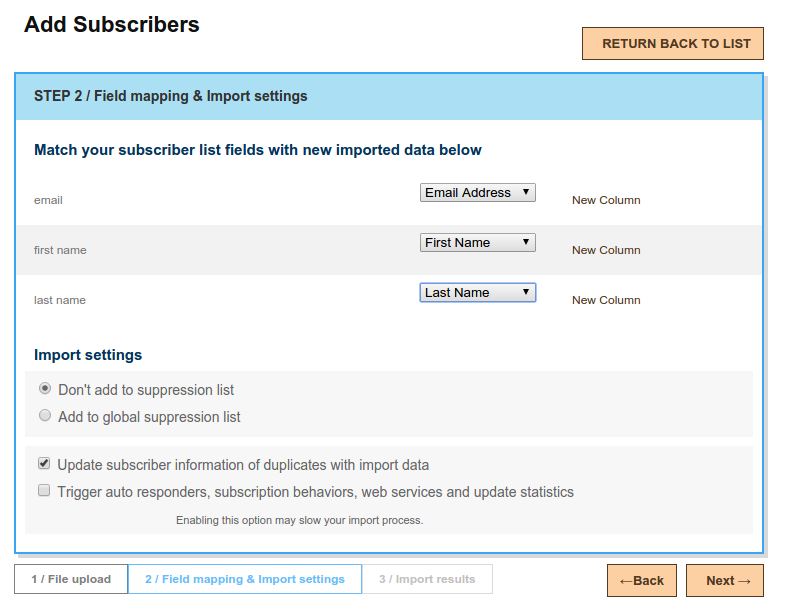
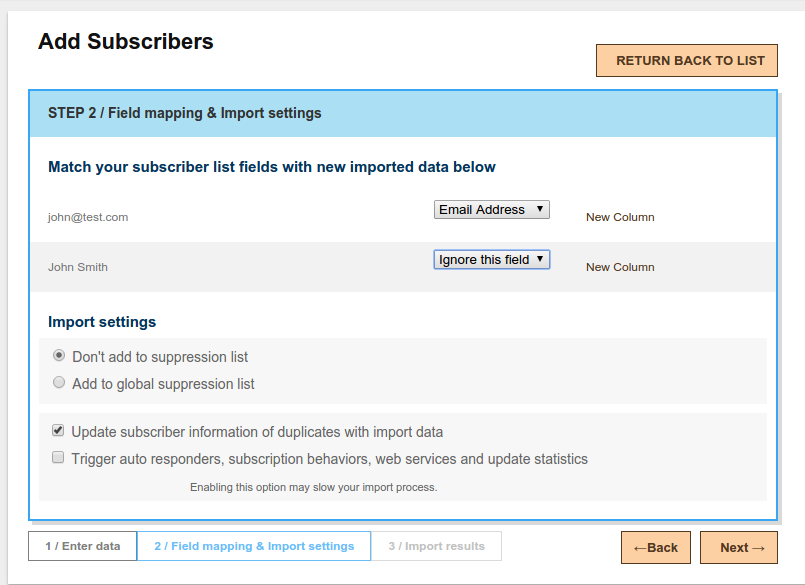
Match the subscriber fields
Here you will need to map the fields within your system with the import data fields. If you have custom fields within your mailing list they will be displayed in the drop down.
You should always map the email address field with the email address within import data. There is an option to ignore certain fields as well if you do not wish to import them.
Import Settings
If you are going to import new subscribers to the list, always select “Don’t add to suppression list” option. If you are importing subscribers to suppression list global or list based then select the appropriate option
Update subscriber information of duplicates with import data
Enable this option so that when you import the data for the subscribers which are duplicate or subscribers who are already within the mailing list, then their information will be updated with the new imported information.
Do not send opt-in confirmation email, subscribe immediately
If this option is ticked, the system will not send the opt-in confirmation email and will just subscribe the subscriber immediately to the mailing list
Trigger auto responders, subscription behaviors, web services and update statistics
If you enable this option, the system will trigger auto responders, subscription behaviors and web services actions related to the mailing list you are importing your subscribers to.
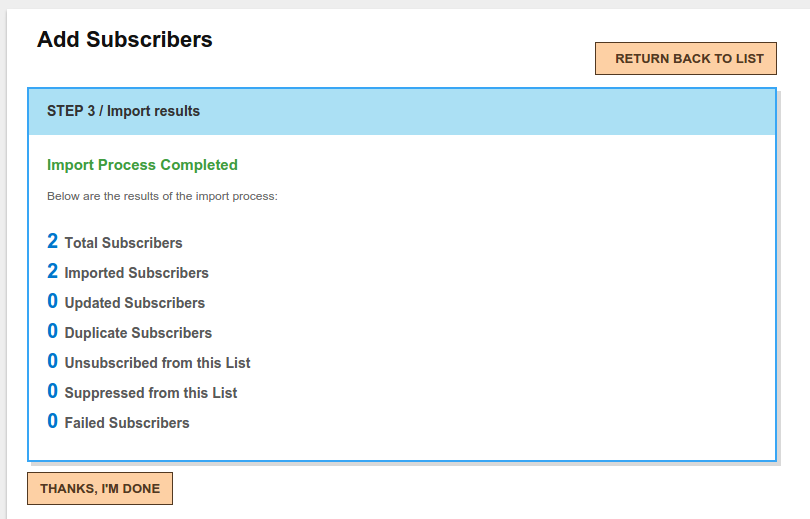
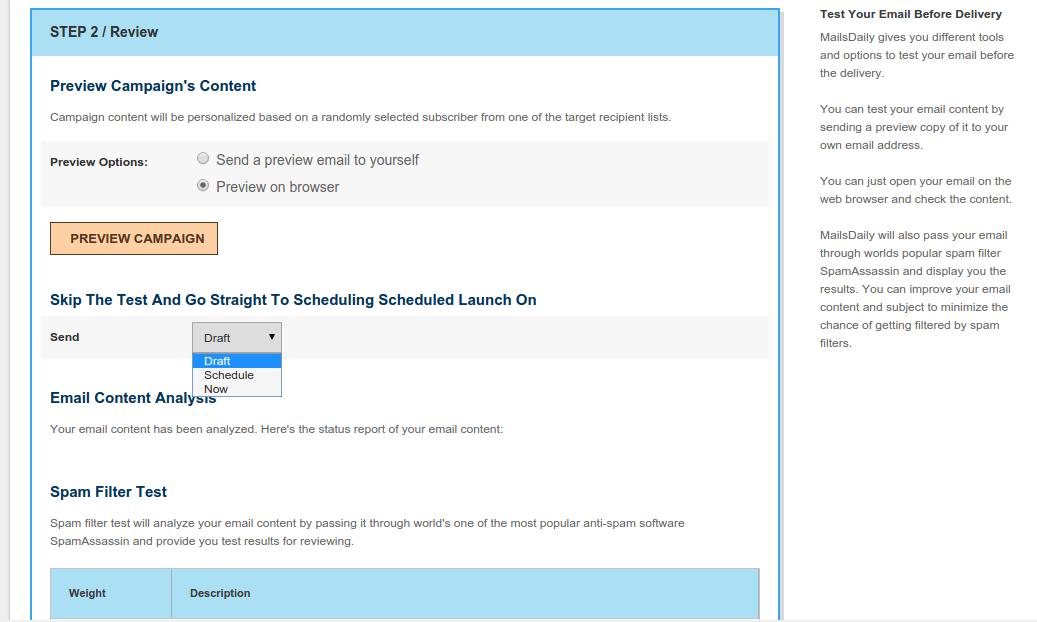
Once the options are populated click on the “Next” button to proceed to the import results step. The result screen will give you the details about the import process completion.